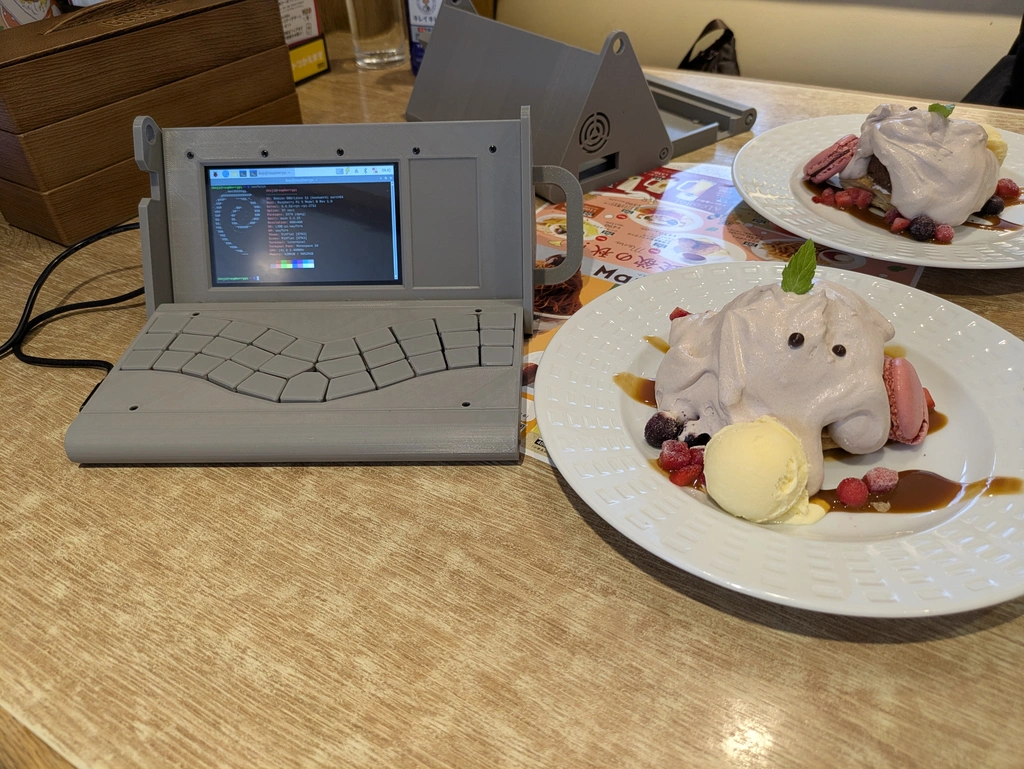
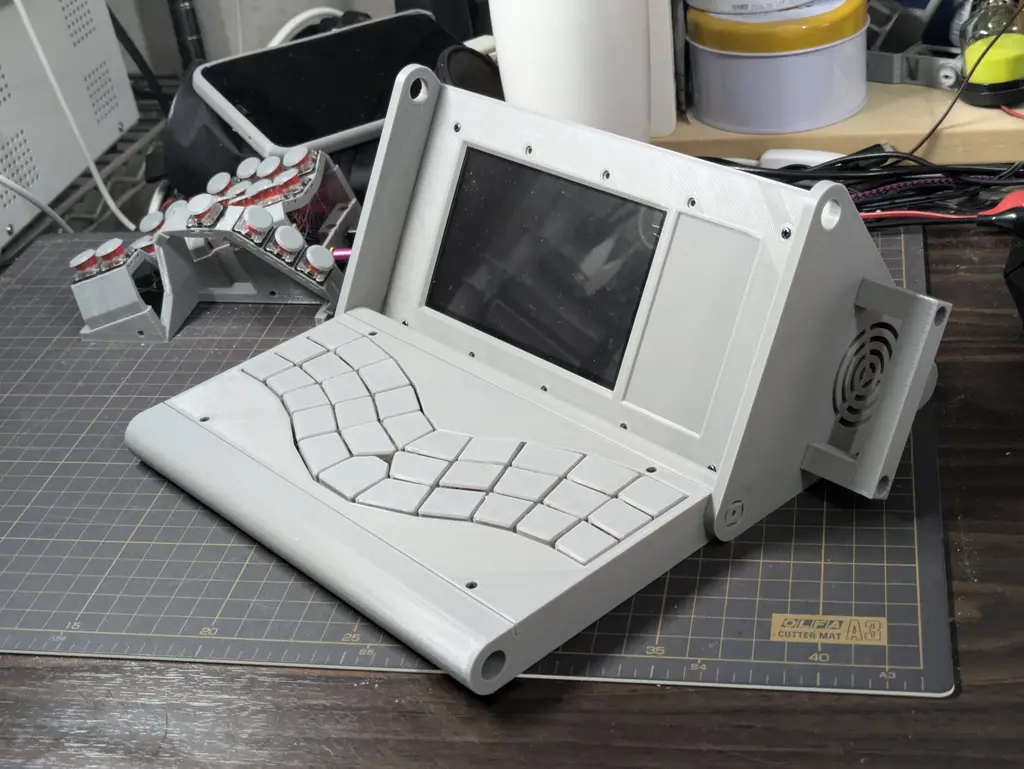
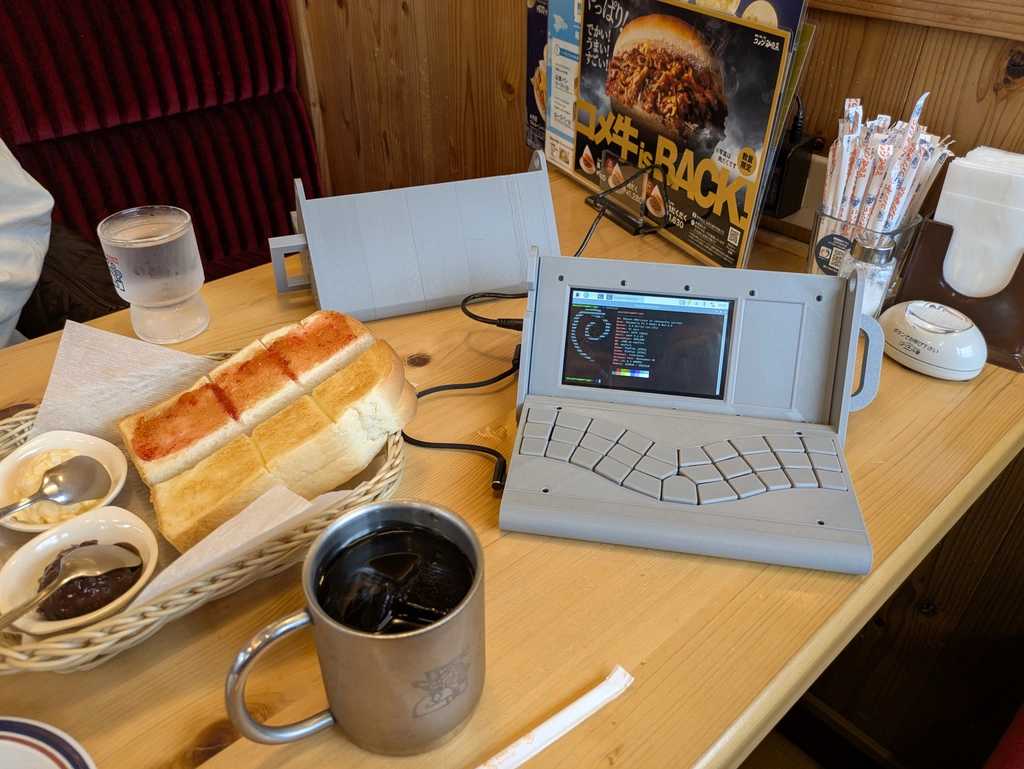
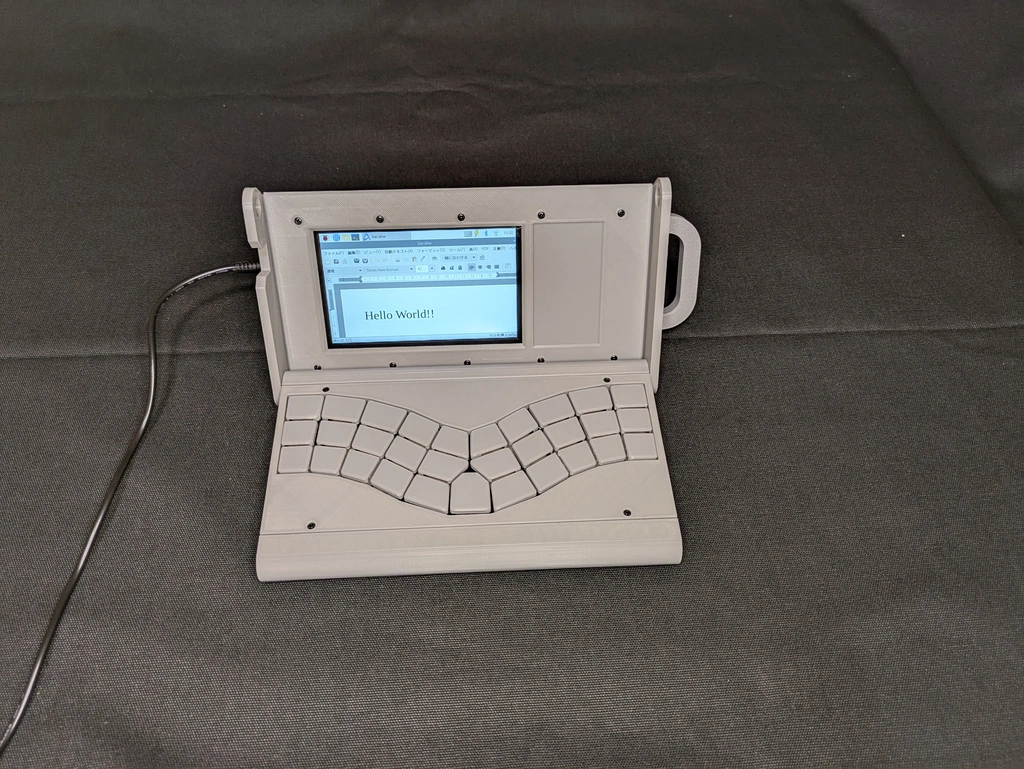
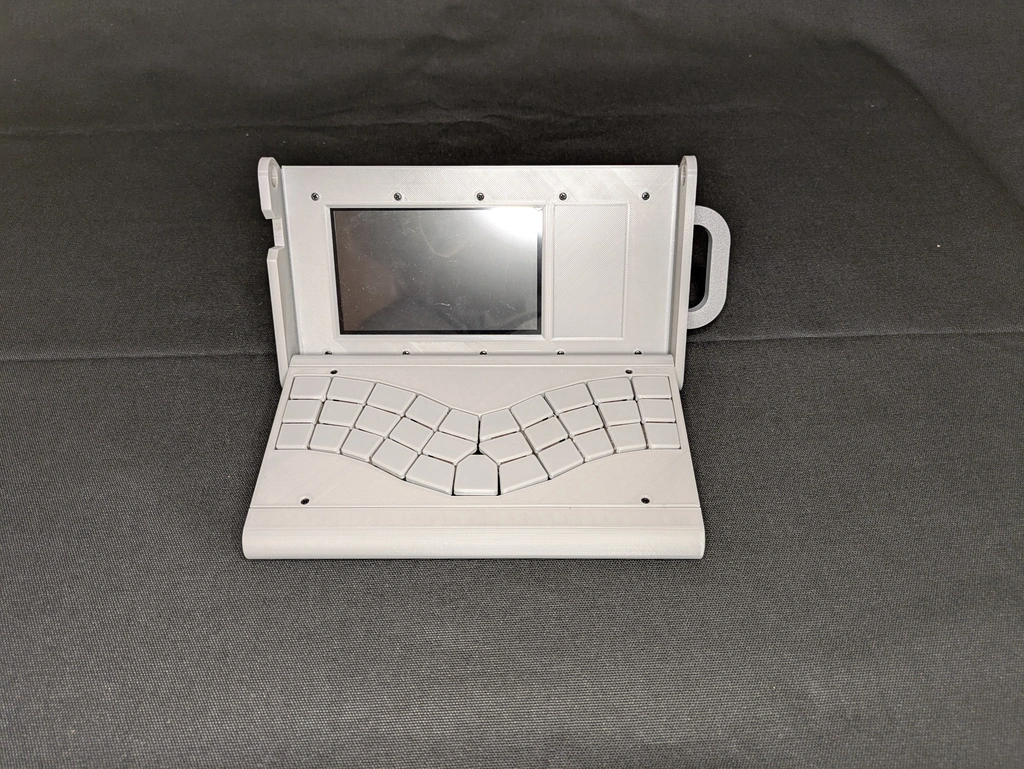
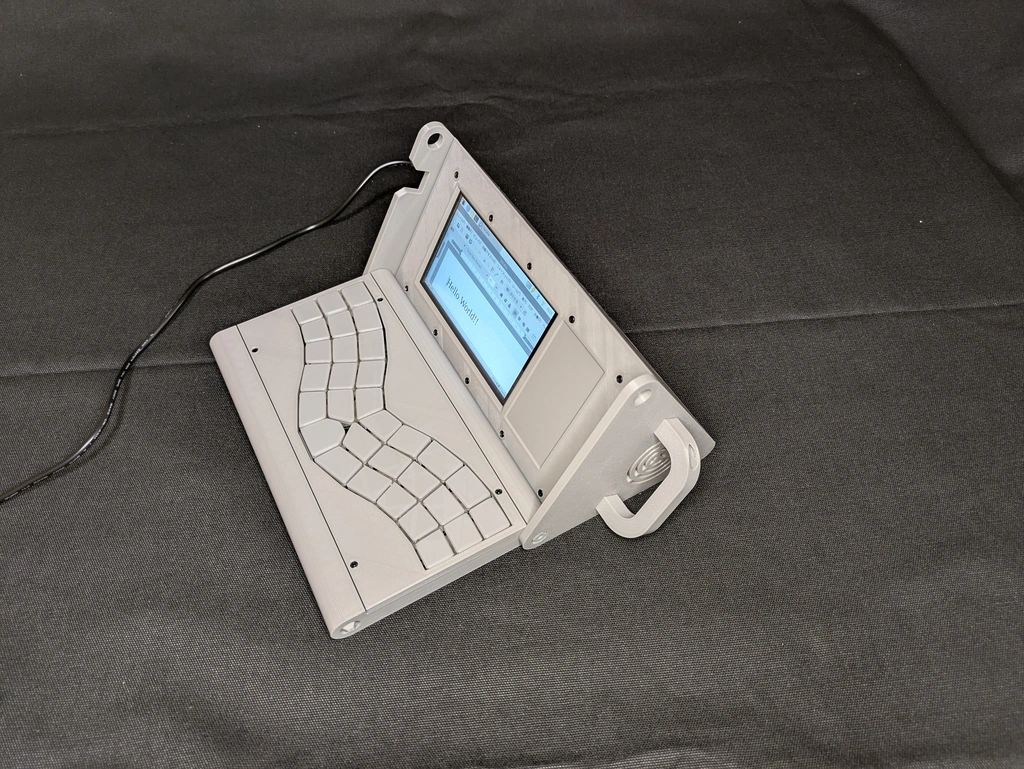
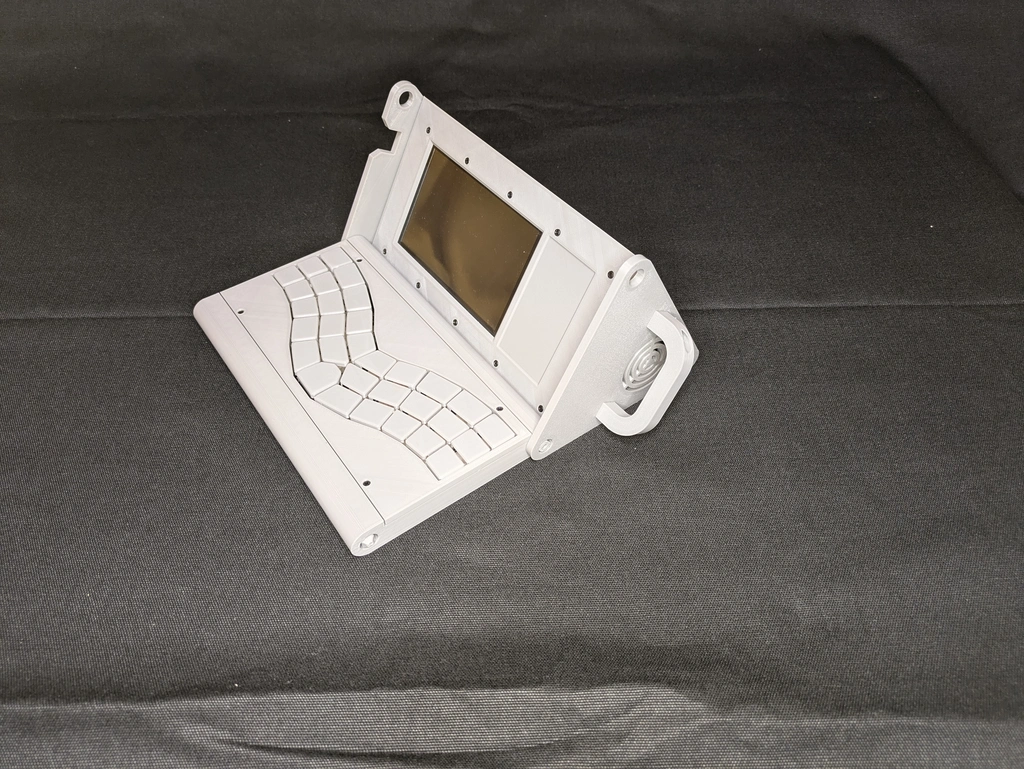
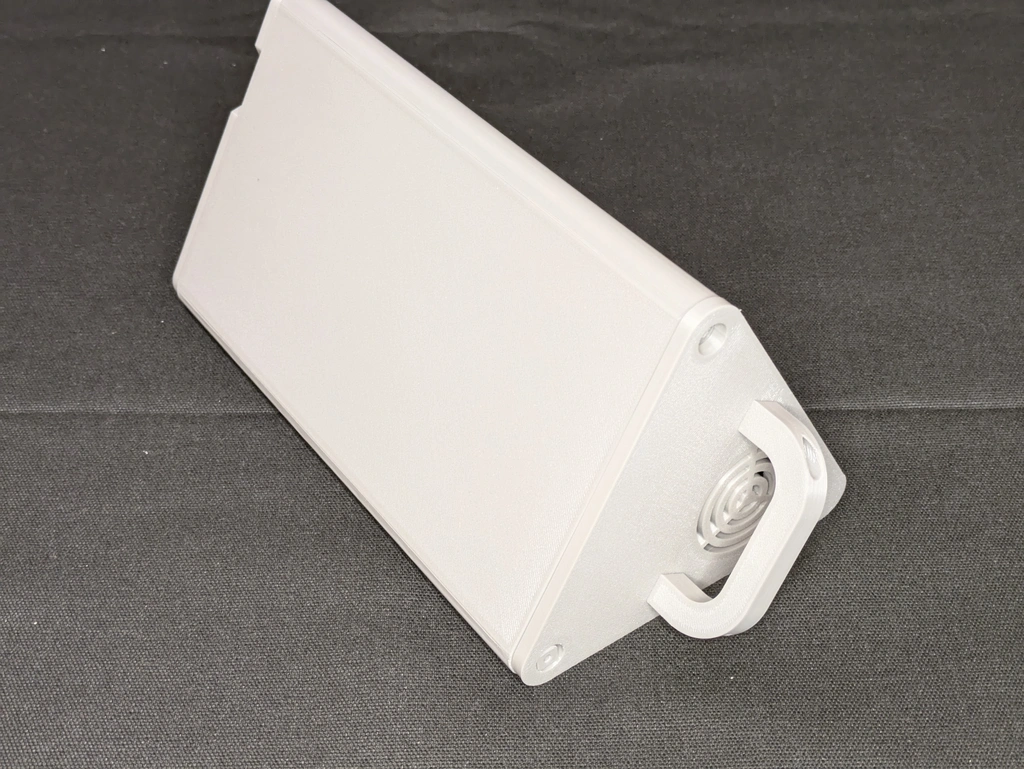
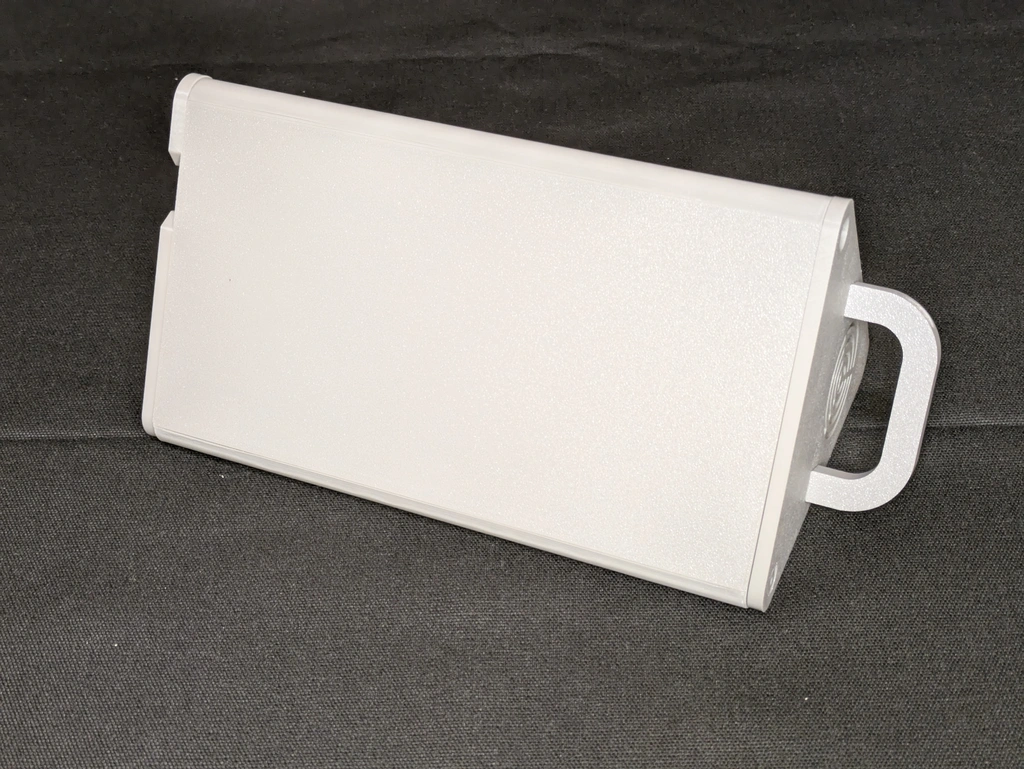
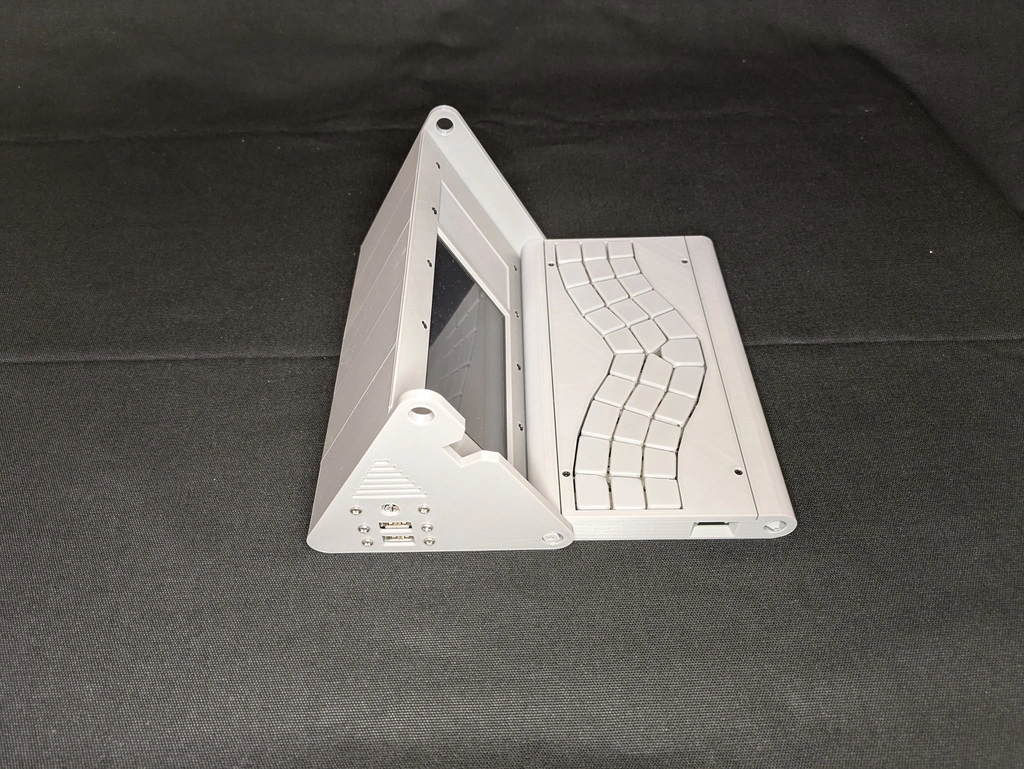
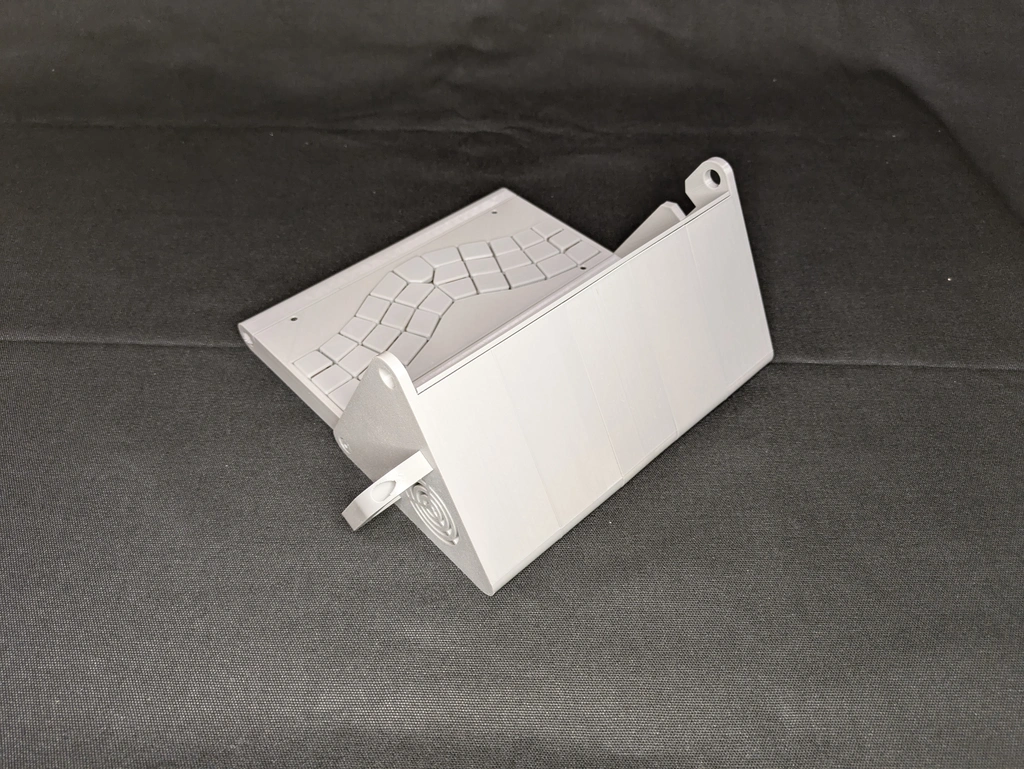
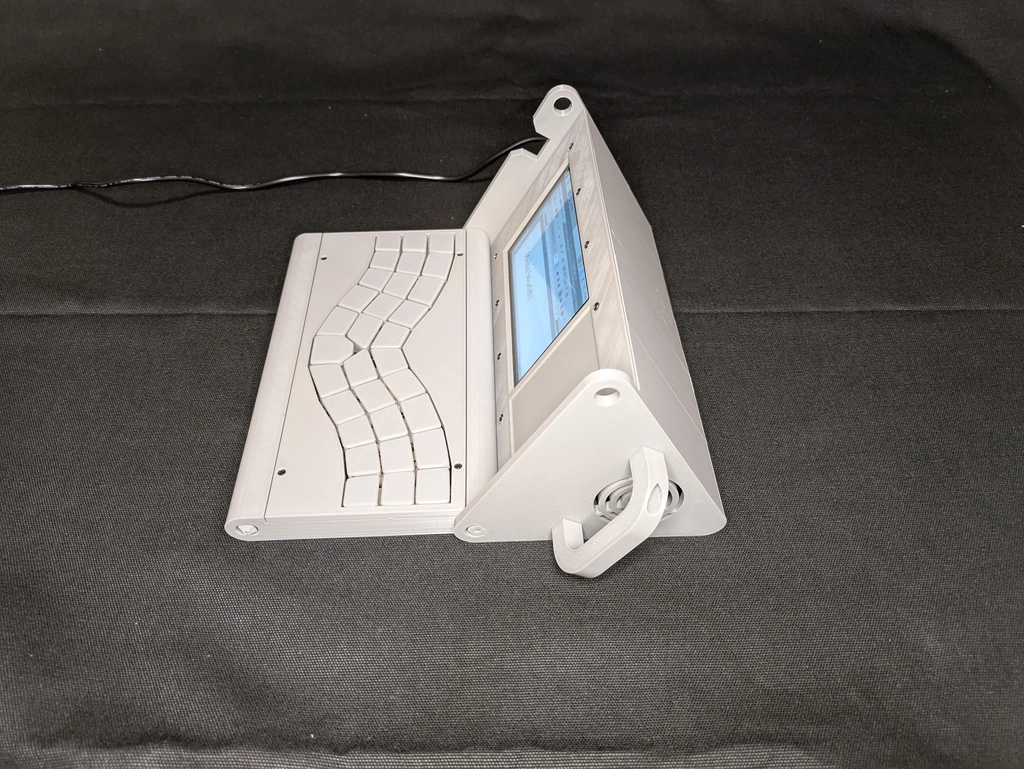
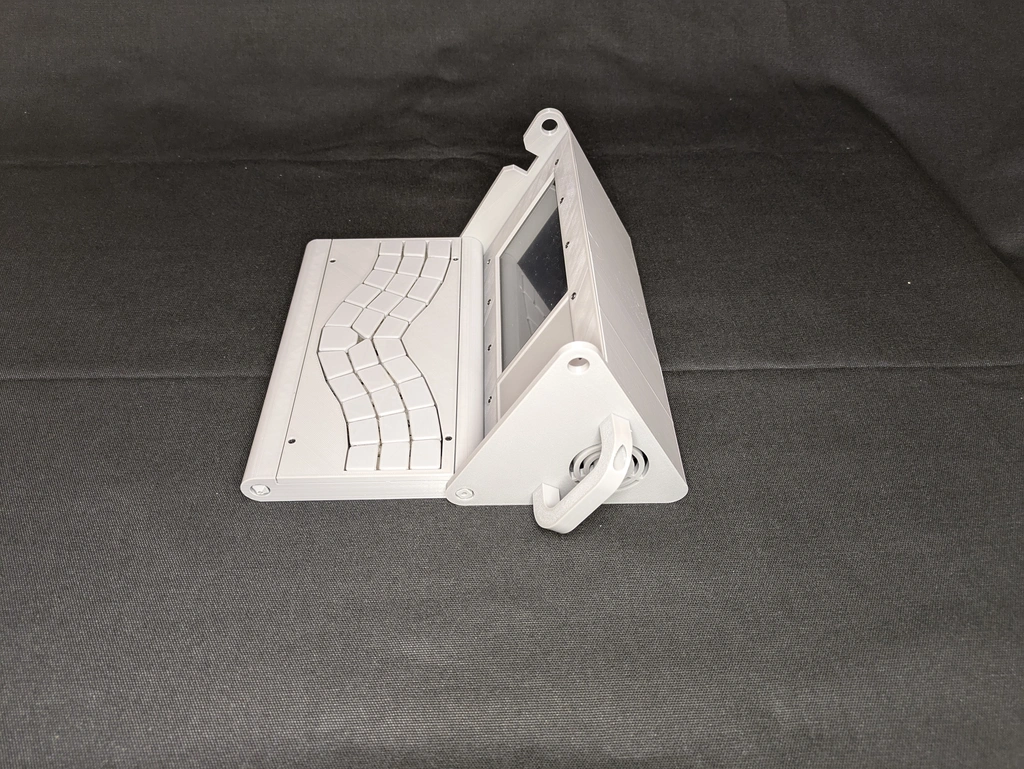
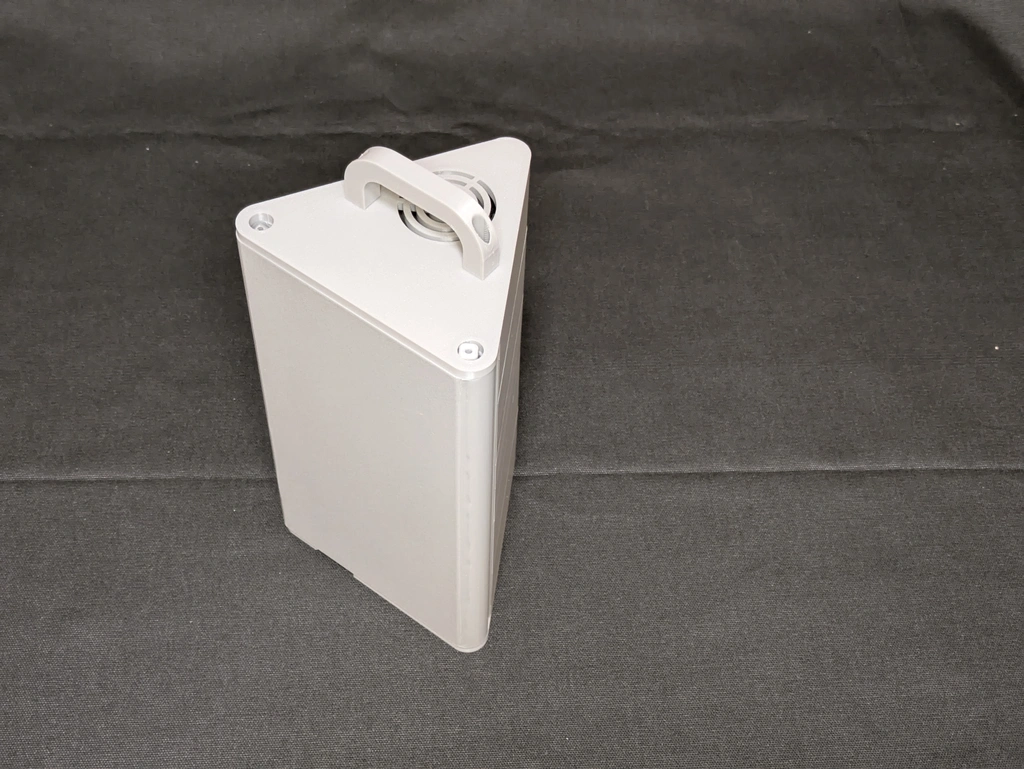
Triangular shaped PC 三角柱の形のPCを作った。
Plan
I purchased a Raspberry Pi 5 and built a Cyberdeck using it as the base.
The triangular prism design was inspired by this artwork.
While triangles might seem inefficient in terms of volume, There is a backstory that they’re stored in a honeycomb-like structure (to where?).
Screen
I’ve always struggled with HDMI connections, so this time I used a CSI connected display.
It seems the CSI display doesn’t show a boot-up screen.
The screen is a touchscreen.
As expected, flat cables make for a much cleaner connection.
Power Supply
In my previous project, I experienced severe voltage drops at the power connector. To address this, I’ve used a 10A-rated connector from Akizuki Denshi.
This connector is designed for PCB mounting, not case mounting. So, I created a mounting bracket using a 3D printer to secure it.
Case
As usual, I 3D printed the case.
It’s designed in CadQuery.
Due to the constraints of the keyboard width, the case is too large to print in one piece, so it’s assembled from five separate blocks.
The case is designed to protect the screen when the keyboard is folded. The hinges don’t have any particular torque.
Quotes
きっかけ
RaspberryPi 5を買ったので、それを元にCyberdeckを作った。
三角柱はこちらの作品にインスパイヤされた。
三角形は容積が無駄になっているが、 ハニカム状にまとめて収納されているという裏設定がある(どこに)。
画面
いつもHDMI接続であたふたするので、 今回はCSI接続のディスプレイを使った。
起動中の画面が出ないものみたい。
画面はタッチパネルになっている。
やっぱりフラットケーブルだと接続がすっきりする。
電源
前回、電源コネクタの部分での電圧降下が酷かったので、 今回は秋月で売ってる10A対応品を使った。
このコネクタはケースマウントではなく基板マウントだった。 そこで、3Dプリンタで固定金具を作りそれで固定している。
ケース
ケースはいつものごとく3Dプリンタで作った。
CadQueryでデザインした。
キーボードの横幅から来ている制約で、 一発で作れないサイズなので、 5個に分割したブロックで組み立てられている。
キーボードを畳んで画面を保護する形になっている。 ヒンジは特にトルクを持っていない。
